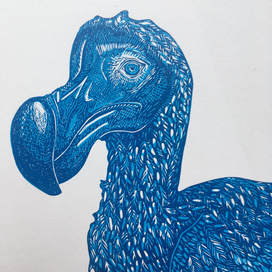
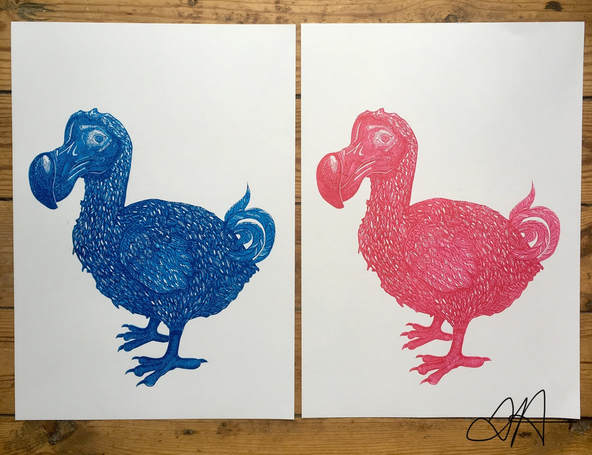
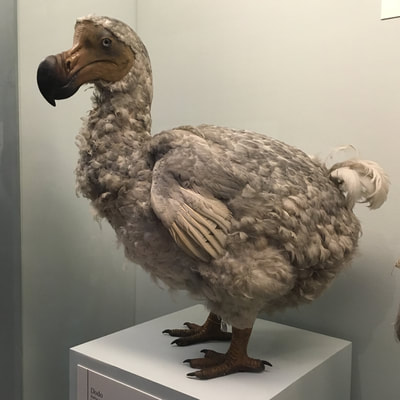
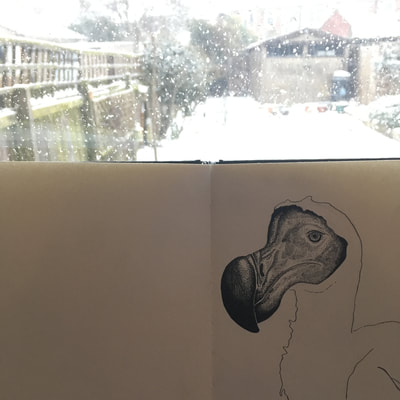
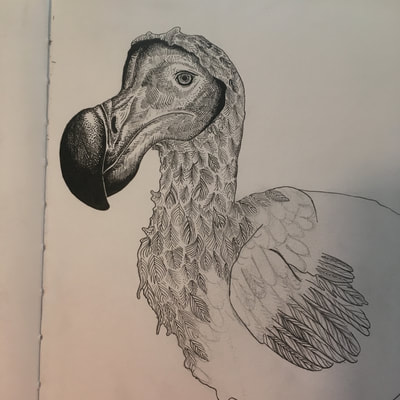
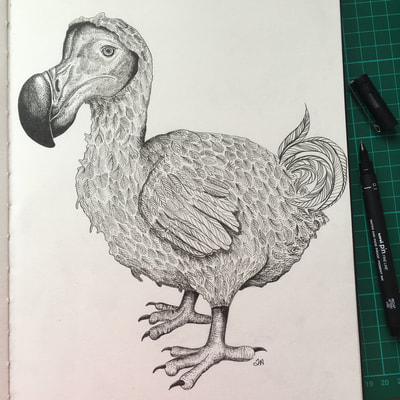
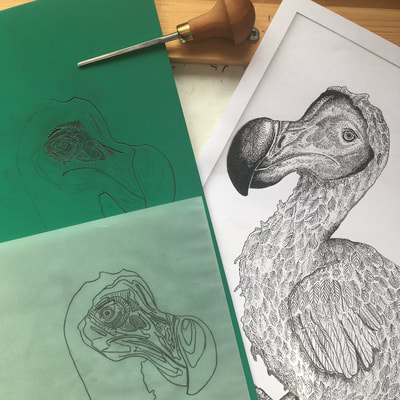
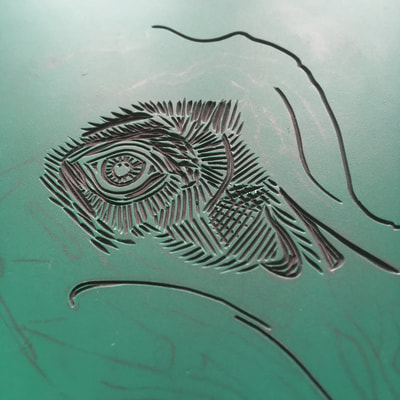
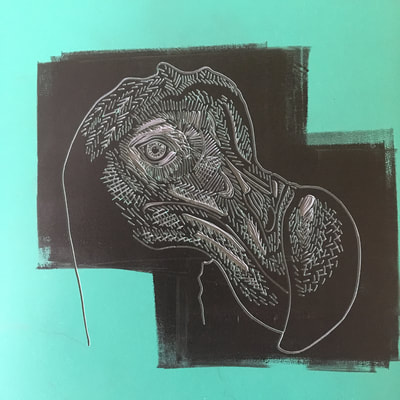
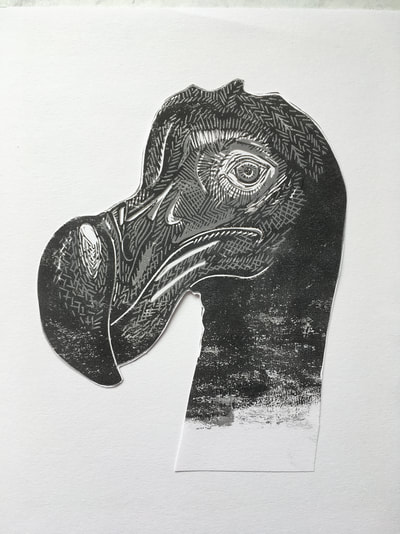
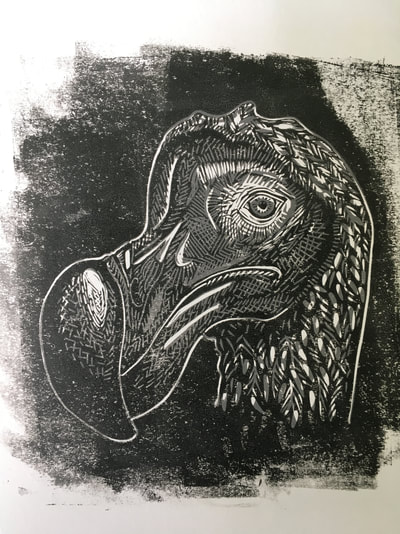
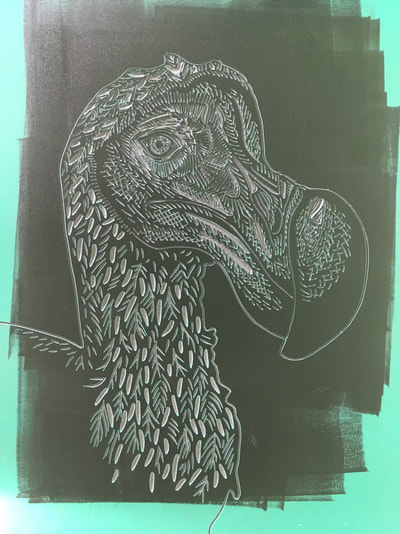
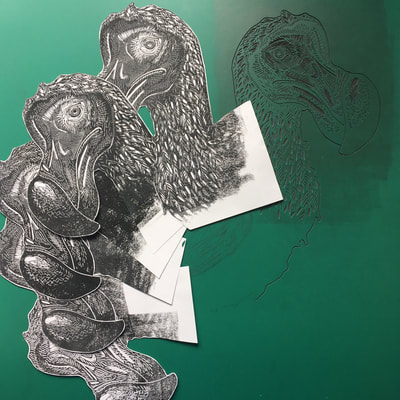
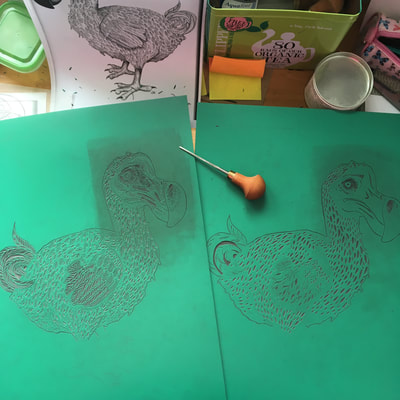
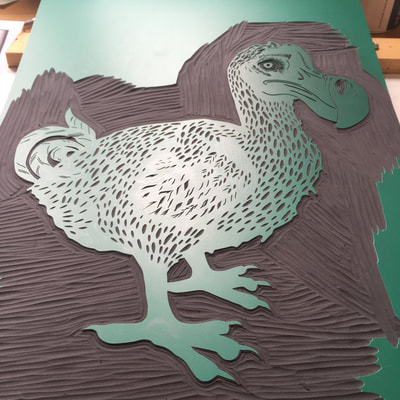
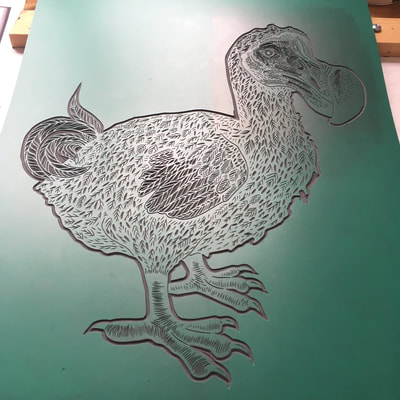
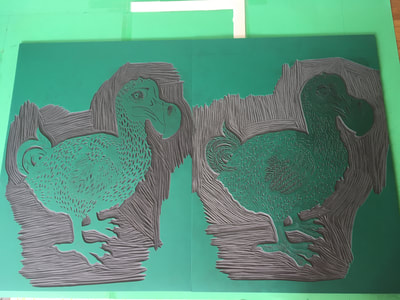
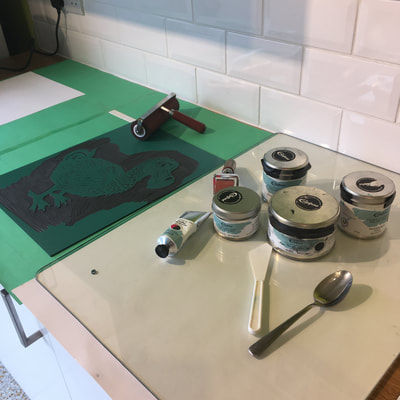
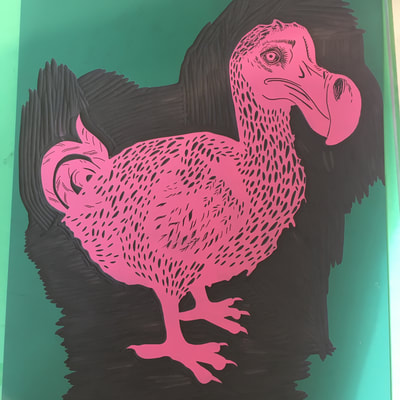
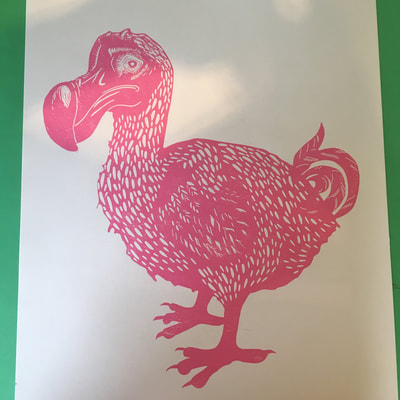
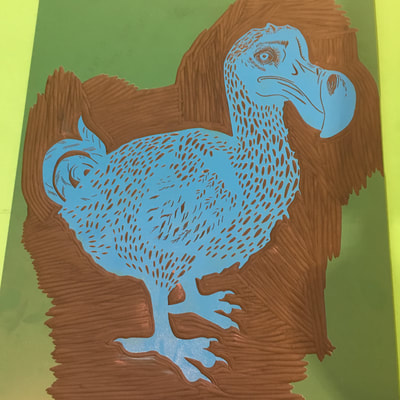
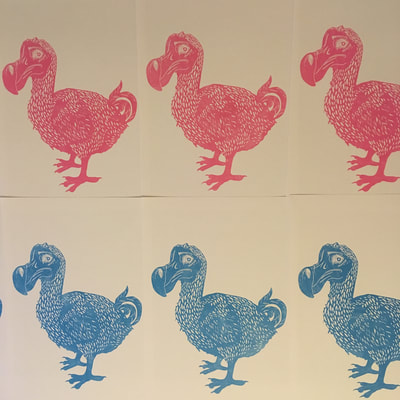
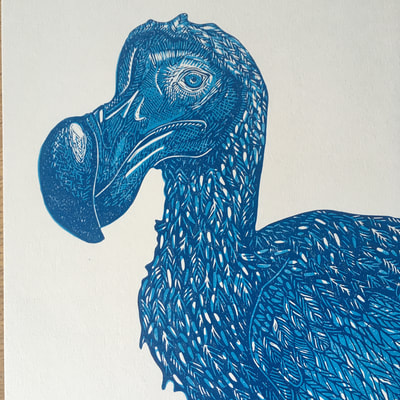
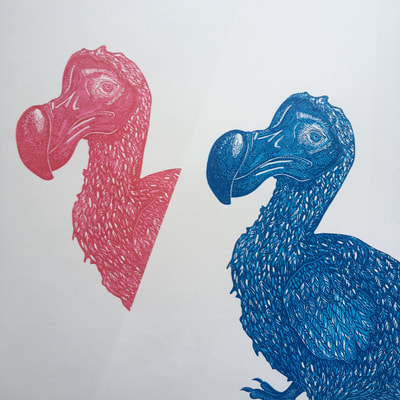
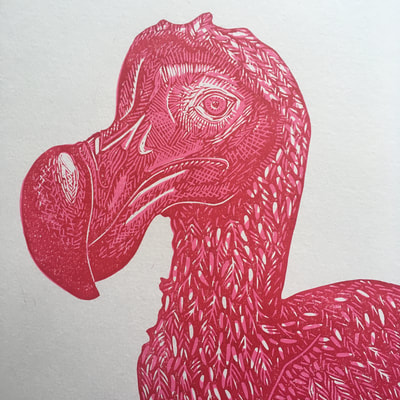
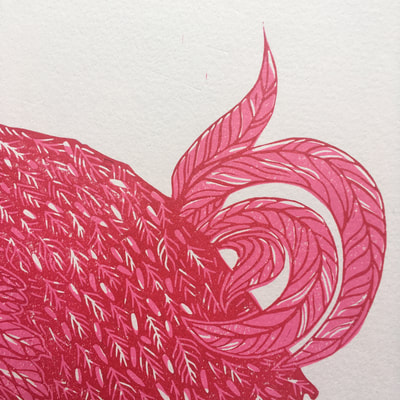
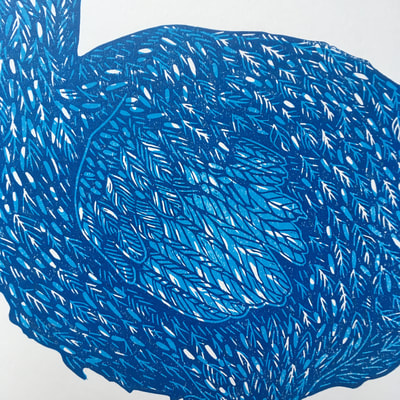
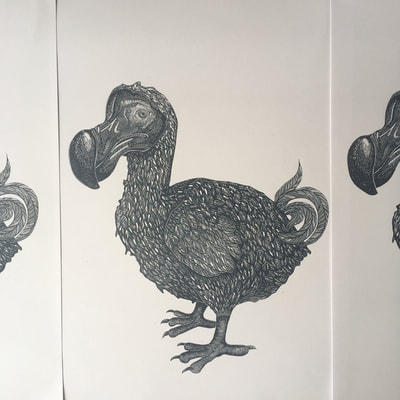
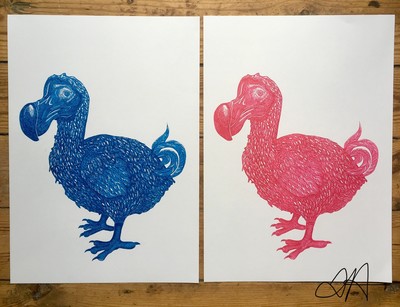
 Detail from #projectdodo linocut Detail from #projectdodo linocut It's always a little surreal when I start a blog (incidentally this is the second time I've started this - I've just lost my previous start to the blog *sob*) and look back over the photos of the different stages that have gone into making a print. #projectdodo has been a head scratcher and has involved some long carving and printing sessions. It's definitely been one of my more intensive linocuts! It all started at the end of February when hubby and I visited London along with my parents as our collective Christmas present day out! We'd headed down for the Modigliani exhibition at the Tate Modern initially and then London was our oyster! We had a good play on the swings in the Turbine Hall, got to watch the snow falling over central London from the top of the new extension, and then after a visit to Intaglio Printmaker (which is not far from Tate Modern - when we entered there were only a few flakes of snow falling - but 15 minutes later we walked out into a carpet of snow over the pavement!) we decided to visit the Natural History Museum. The building itself was stunning and I was as intrigued by it as I was the exhibits - we saw the whale of course, and the dinosaurs, and then we *had* to go and see the birds. I have a weird thing about taxidermy birds - I find them intriguing but also quite odd; especially if done badly! I think it's because it's a close as you can actually get to them to look at them - apart from when bird ringing of course - but that's a story for another time..... and that's where I saw the Dodo. I've popped a photo of it at the bottom. Back in Coventry, I curled myself up on the sofa in the back room, sketchbook in hand, snow falling outside, the open fire lit (one of my favourite places) and started drawing Dodo. It took a couple of sessions, and it wasn't until I'd finished (and realised how tricky it was going to be to get the drawing out of the sketchbook due to some over-zealous gluing by whoever bound my sketchbook!) that I decided it would become a print. And that is where the head scratching started. Initially I was going to do it as a one layer 'normal' print. However it became clear after my first test print that it wasn't going to work as a one layer print. I had two choices - start again and create a reduction linocut or create a two layer print. I decided on the latter. This meant a lot more carving but it saved the part I'd already done. Dave gave me some words of encouragement when I was very close to packing it in - something along the lines of "Well what would you say to the kids in your class if it was them at school..." The shame. ;-) It *was* worth persevering with; I did do a *lot* of just sitting and looking and thinking. It's as much and just as big a part of the process as the actual carving. Once I'd got in my head how I could move forwards it was fine. It just took a bit to get there! It was a labour of love transferring the image over - twice - onto the print blocks. I repeatedly printed the head as I went along, checking I'd got the highlights right on the bottom block - anything I carved away on this layer would stay white - and also to line up the top block to make sure it helped to create the areas where shadows were needed on the bottom layer, as well as making sure I kept the highlighted areas clear so they would stay white - especially where outlines of areas were involved. I was really pleased with how the initial carvings were going, but I really did need to keep checking and re-printing until I knew I'd got the technique and patterns right. It was quite good to keep swapping between the blocks though as it gave a bit of respite and meant the brain kept working and the carving stayed fresh. Once I'd got the heads sorted on both blocks I just kept going and didn't test print again until they'd both been carved. I used my water based inks and did a quick (and very rough) test print in grey and black and was relieved to see it actually seemed to have worked! I decided I needed to use some colour in the print while I was doing the initial head test prints as the black and grey were too close - initial ideas were to use a colour and then print grey over the top - but test prints of doing this showed that using the same colours over the top (but a different shade) worked much better and the images 'popped' a lot more. I mixed the base colours of pink, blue and grey using my Cranfield Caligo safewash inks - the lovely linseed oil based ones - and they mixed together well when I used a nice wide spatula. My new roller came in very useful too! I'd decided on a white background, so there was a lot of very careful inking done, although I have got the inevitable little bit that got away here or there thanks to the joy that is hand printing. It gives them individual character! Two days after the first layer it was time to print the second - and I had a long day printing the fifteen images again. The top layer was harder work than the bottom! I've done the print as a varied edition - currently I have five grey, five pink and five blue based prints - including some with a grey rather than a same colour overlay. I'm thinking it will be a limited print run of 30 dodos in total - and I'm still thinking of experimenting with some other colours. If anyone has any requests, let me know and I'll have a go at printing them up - I'm toying with the idea of an orange and yellow or orange and grey dodo.... or maybe some purple! Thoughts? Right, I think that is enough for today! Two of my dodos will be heading to Wrecked Angle framing on Monday for some framing joy from Rich (I am very excited to see what he suggests!) and then they will be heading to the Fairy Tale and Fantasy exhibition at The Slate Art Gallery in Leamington Spa. The exhibition opens on the 6th April. I'll also have a Wren print there and some original drawings too. My next blog will be all about the different fairs and exhibitions I have coming up -but if you can't wait until then, they're listed on my 'About' tab. OK - time for some photos! alix x
0 Comments
Leave a Reply. |
Here we go...The ramblings of a linocut printmaker.... and other artistic adventures! Archives
December 2020
Categories |

 RSS Feed